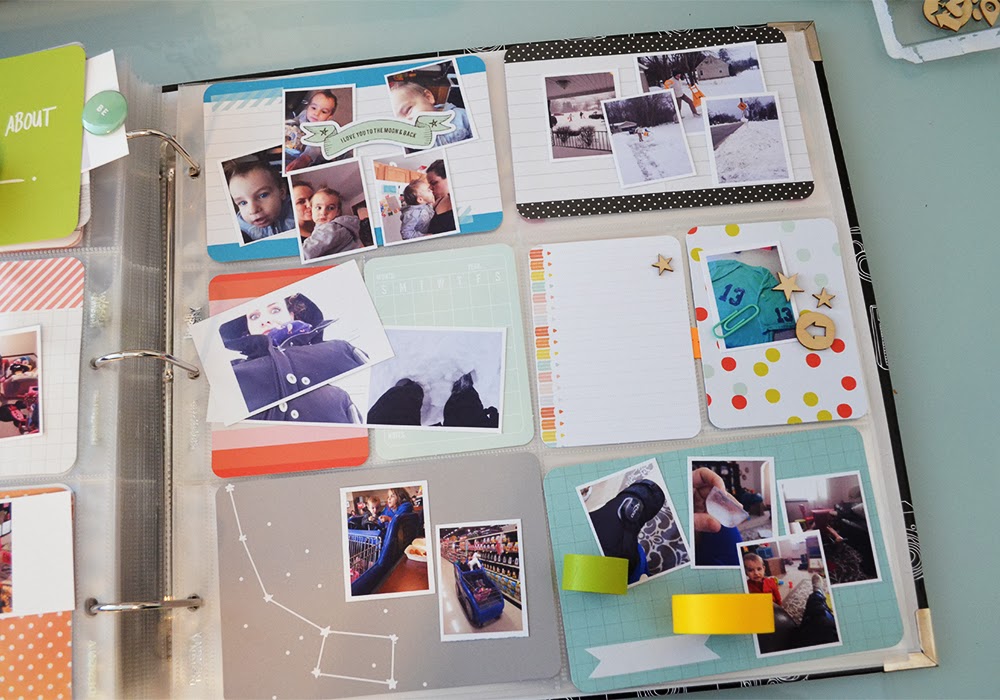
I've mentioned before that I do PL a month at a time. This works for me. At one point I was trying to do it week by week but it was starting to become something on the to do list that I wasn't checking off, I felt behind a lot. Now it is something I look forward to since it actually gives me a little break from my traditional pages.
The first thing I do is print my photos. I do this at home with iPhoto and a Canon printer. I go through the past month and select each photo I want to include. I click Print, then Contact Sheet. From there I can customize the amount of photos I want on each page. Smaller sizes mean that I can include more on the spreads and still have room for journaling, which is what I like.
Once I have those printed and trimmed I pull out my page protectors and decide where I want the photos placed. Next comes the cards or background paper. I think about what kind of journaling I would like to include with these photos & keep this in mind when making my choices.
Next I plan the embellishments for each pocket. I don't go too crazy here because it's really more about the story and less about the frills for me… but a little is nice. I've been using the Studio Calico Project Life monthly kits and it makes embellishing a breeze since everything in the kit coordinates already. Not a whole lot of time is spent thinking or hunting down things to match.
Now I glue everything down. Pull out some labels for easy journal spots. Stamp & embellish quickly.
That's it. From start to finish (not including printing the photos) one layout takes about 30 minutes (maybe less depending on how many times one of the rugrats little angels bothers me).
Here are the rest of Februarys pages.
I know there are a lot of different approaches to this project, and finding what works for you is half of the battle. The more simplified and organized you are, the more likely you are to keep up and make this happen. I would encourage you to try because it's super super cool to have a year worth of pages to look back on.
One of the things I love most is that these are things I wouldn't have normally scrapped.. like 5 foot icicles, baby yogurt faces, epic driveway shovel-a-thons, silly bath time antics, even feelings about the not so rosy moments. These are the little things that make up our daily lives, this is why I scrap. The kids won't always be dumping toys all over the living room (I hope), or crawling onto my lap for a quick snuggle, or doing science projects. I want to have a way to look back on these things and remember them. That's what Project Life is for me. It's not a chore, or something I feel like I have to do, but rather a way to preserve our family history… even if it's really only important to me.


Can I just say how incredibly excited I was to see your process for printing your photos?!? I don't often see others who are also using iPhoto. (Love my Mac!) I've been debating how to go about printing smaller photos and not spent a gazillion dollars at Walgreens for 4x4! I'm not a PL girl in general but I like the idea of it for those smaller, everyday moments. Thanks for sharing! I'm excited to try it...hoping my printer does my photos justice! May I ask what OS you are using with your iPhoto?
ReplyDelete