This is easily the coolest thing I have ever made… and all for under $25
I've been wanting to do a diy marquee lighting project for quite some time. In fact, last year I planned on doing the letters L-O-V-E for Valentines day. With that in mind I purchased two strands of globe shaped lights on Christmas clearance 2 for $5…. and then they sat there in their boxes until today. I just decided, what better way to procrastinate and distract myself from our upcoming move than a good old fashioned DIY?!
It's super easy, I'll show you how. First, gather your letters. I found these bad boys at Hobby Lobby on sale for $1.73 each…. pick up an exacto knife, pencil, and of course the lights. I used two strands with 50 bulbs each for this long word, so it depends on how long yours is… figure in about 10 lights for each letter.
Start by using the exacto knife to cut the top of your letter off. (Careful!)...
Take out all of the stuffing and clean up the edges a bit...
Then flip it over and mark where you want the lights to poke through. I left about an inch and a half between each bulb and tried to keep them centered in the middle of the letter. I think it makes the letters look more marquee-ish if they are pretty close to evenly spaced..
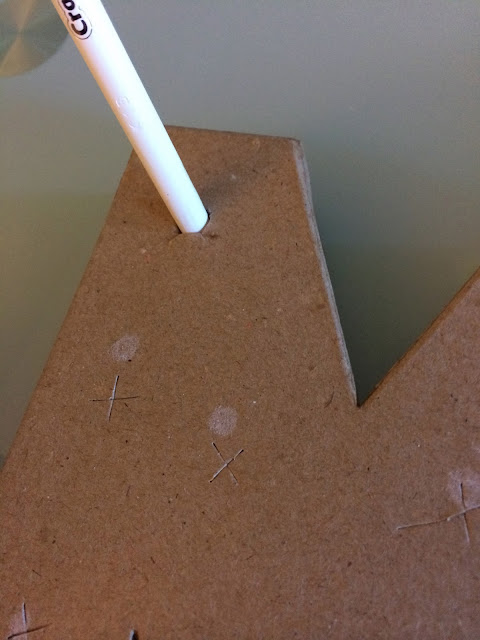
Next, use the exacto to splice little cuts into those markings.. this makes poking through to letter a bit easier...
(uhhhhh. I guess I started to eyeball where I wanted my lights and not use the markings so much… but you get the idea. It doesn't have to be perfect.)
Poked.
Take the last bulb off of the light strand. Be careful while handling the lights, if you bang them around they could stop working… and also, plug the lights in before you start to make sure they work ;)...
Place the lights through the holes from the front of the letter. I had to use a bit of force to pop them down into place….
This is what the back side will look like...
Reattach the bulb to the strand. Repeat. Repeat. Repeat. I plugged in the strand of lights after each letter to make sure they still worked and that I didn't have any connected improperly… much easier to check one letter than a whole "CHRISTMAS"...
Thats it! You're done! Aren't you impressed with yourself?! Pretty cool thing is that there are so many possibilities with these bad boys. When I first picked them up I considered spray painting them gold, or adding glitter, or washi tape to the outsides, or patterned paper. Maybe I will do some of those in the future… but for now I'm kind of in love with the raw material look of them. The frayed edges and brown mache, and messy cords in the back. I love it all.
Nakiah walked in from school today and said… "WHOA! Where'd you get those?!?" When I told him I made them with my own two crafty little Mom hands he looked at me lovingly and said, "legendary." Props from an 11 year old, $25, and completion during nap time? That right there is what I call a craft win, my friends.. :)


Seriously awesome! I love it so much.
ReplyDelete